Handling images on the Gamebuino META
Saturday, May 1, 2021
Load images from the micro SD card
I haven’t touched on this issue so far, as its interest is rather limited, but there is nevertheless the possibility of loading images from the micro SD card inserted in your Gamebuino’s reader.
The supported image formats are Windows Bitmap (BMP) with 4, 24 or 32-bit depth:
- 4-bit BMPs will be converted to 16-color indexed images.
- The 24-bit BMPs will be converted to RGB565 images.
- 32-bit BMPs will also be converted to RGB565 images, except that the alpha channel (the byte representing the transparency level of the color) will be converted with the following dichotomy:
- If the transparency is greater than 50% (so if the value of the byte is greater than 127), then the pixel will be considered totally transparent.
- Otherwise the pixel will be considered as totally opaque.
The conversion is automatic and is triggered the first time your program is run, so you don’t have to worry about it. However, you will have to wait for the first time you run the program so that the conversion process has time to take place.
Here is how to create an image from a BMP file stored on the micro SD card:
Image image("path/to/file.bmp");
The path to file.bmp must be expressed relative to the contents of the folder in which the binary file of your program is stored.
Hosting graphics resources on the micro SD card
During the programming phase, your code is compiled and transferred to the Gamebuino’s Flash memory through the USB connection, so you do not need to create a specific folder to host it on the micro SD card at this stage. However, you can create this folder in advance if you want to host multimedia resources that will be used by your program. By default, the name of this folder is the same as that of your .ino sketch. In our case, we can now create the my-stunning-game folder at the root of the micro SD card to host the BMP images that we will use.
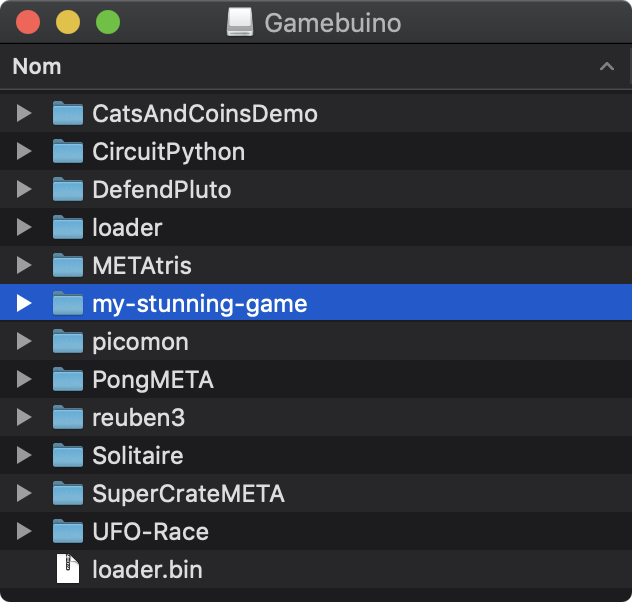
The folder of your project on the micro SD card
Then download these two BMP files:
And store them in the my-stunning-game folder on your micro SD card:
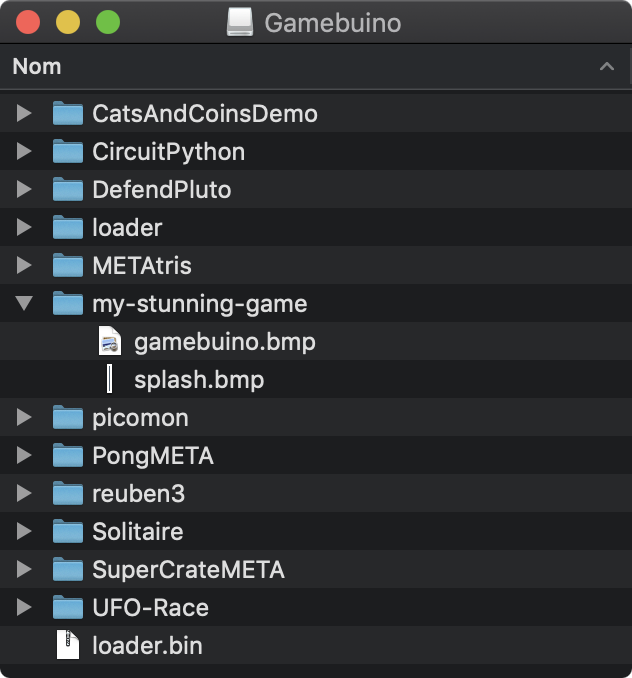
Graphic resources of the project on the micro SD card
You can now insert the micro SD card into your Gamebuino.
Loading and viewing images stored on the micro SD card
The gamebuino.bmp file is a version of the Gamebuino logo adapted to cover the META screen. To display this logo when the program is launched, you can do the following:
examples/example-17.h
#include <Gamebuino-Meta.h>

Image image("gamebuino.bmp");

void setup() {
    gb.begin();
    gb.display.drawImage(0, 0, image);
}

void loop() {
    gb.waitForUpdate();
}
The logo loaded from the micro SD card
You have to take into account that loading the image will necessarily occupy space in RAM to create the image instance of the Image class. It is usually better to store your images in Flash memory by converting them into constant data arrays as we have seen in the previous chapters. Especially since loading images from the micro SD card will be much slower than from the Flash memory.
But it can be very useful to be able to store an animated sequence that is too heavy to be hosted directly in the Flash memory, but that you still want to display in the game as a splash screen or a transition screen between two levels for example. In this case, we will use a special feature offered by gb.display which consists in streaming the animation directly from the micro SD card.
To activate this possibility, we will have to add a configuration directive:
config-gamebuino.h
#define DISPLAY_MODE DISPLAY_MODE_RGB565
#define STRICT_IMAGES 1
The splash.bmp file is an animated sequence of 97 frames with a resolution of 80x64 pixels. You can imagine that such a sequence could not be stored in RAM, or even in Flash memory. However, you’ll see that it can still be displayed on the screen by invoking a particular gb.display initialization method.
There are actually 4 constructors or initializers of the Image class, all specialized to generate instances associated with reading BMP files on the micro SD card:
// SD constructors
Image(char* filename, uint8_t fl = DEFAULT_FRAME_LOOP);
void init(char* filename, uint8_t fl = DEFAULT_FRAME_LOOP);
Image(uint16_t w, uint16_t h, char* filename, uint8_t fl = DEFAULT_FRAME_LOOP);
void init(uint16_t w, uint16_t h, char* filename, uint8_t fl = DEFAULT_FRAME_LOOP);
Let’s see for example how to use one of them with the splash.bmp file:
examples/example-18.h
#include <Gamebuino-Meta.h>
#include "../assets/rgb565.h"

void setup() {
    gb.begin();
    gb.display.init("splash.bmp");
}

void loop() {

    gb.waitForUpdate();
    gb.display.nextFrame();

    gb.display.print(8, 16, "My Stunning Game");
    gb.display.drawImage(36, 40, SPRITE_DATA);

}
Compile and transfer this program to your Gamebuino. You should notice that it seems to freeze on the initialization screen before your program actually starts. This is normal… and it will even last for several seconds! It is actually converting your BMP file to RGB565 format which is directly usable by gb.display. The result of the conversion is then saved on the micro SD card in a binary file splash.GMV, in the singular format GMV, which is specific to META. Therefore, the next time the program is launched, the conversion will not be necessary and the GMV file will be read directly to initialize the gb.display image without delay.
Once the conversion is done, your program will start, and you should get this:
A splash screen animated by reading a file on the micro SD card
The capture I made here is animated at the default rate of 25 fps. You will see that on your console, the refresh is a bit slower. Indeed, the continuous reading of the GMV file on the micro SD card is slower than if the frames were directly read in Flash memory. In fact, you should be able to see the small orange LED next to the micro SD card reader flashing constantly.
Turn off your Gamebuino and insert the micro SD card into a reader connected to your computer. If you look at the contents of the my-stunning-game folder, you should see the new GMV files:
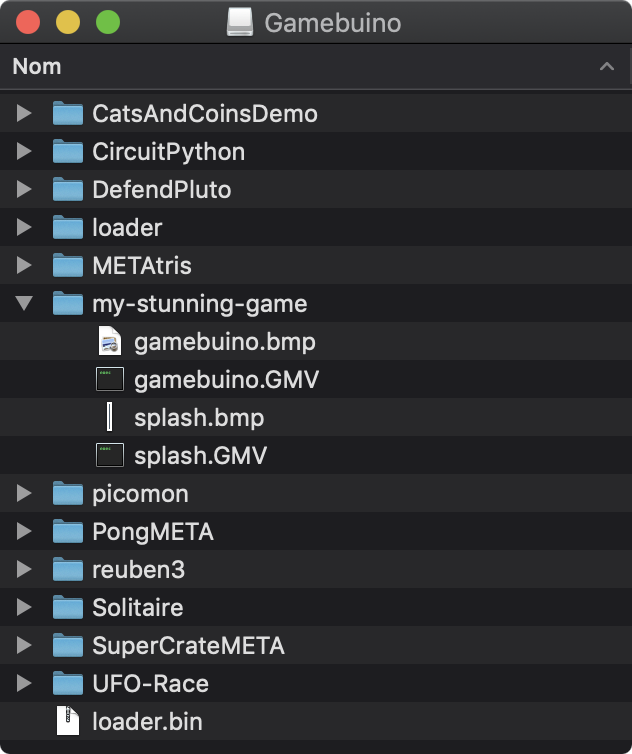
Appearance of GMV files on the micro SD card
It is unlikely that you will use this process for a game screen, but rather for intermediate sequences because of the slowness of loading the images on the micro SD card.
However, this technique is still very useful for animating sequences that are too heavy to be loaded into RAM. Each frame of the sequence is loaded one by one and directly transferred to the graphic buffer of gb.display without occupying more memory. This is the advantage of this streaming technique.
Each cycle of the loop() function triggers the loading of the next frame by:
gb.display.nextFrame();
Then, we can draw anything we want over it with the standard gb.display methods…
Note
This is precisely the technique used by the
loaderto display theTITLESCREEN.BMPsplash screen found in most META application files. You may not have known it, but you can actually have an animated splash screen if your BMP file incorporates a sequence of frames the size of your Gamebuino screen…